
How to play
Robosoma is a real-time strategy game on a spherical Mars. You command autonomous machines, build a physical production chain, establish new colonies and decide when peaceful expansion turns into war. the short five-step instruction.
1. Main menu and modes
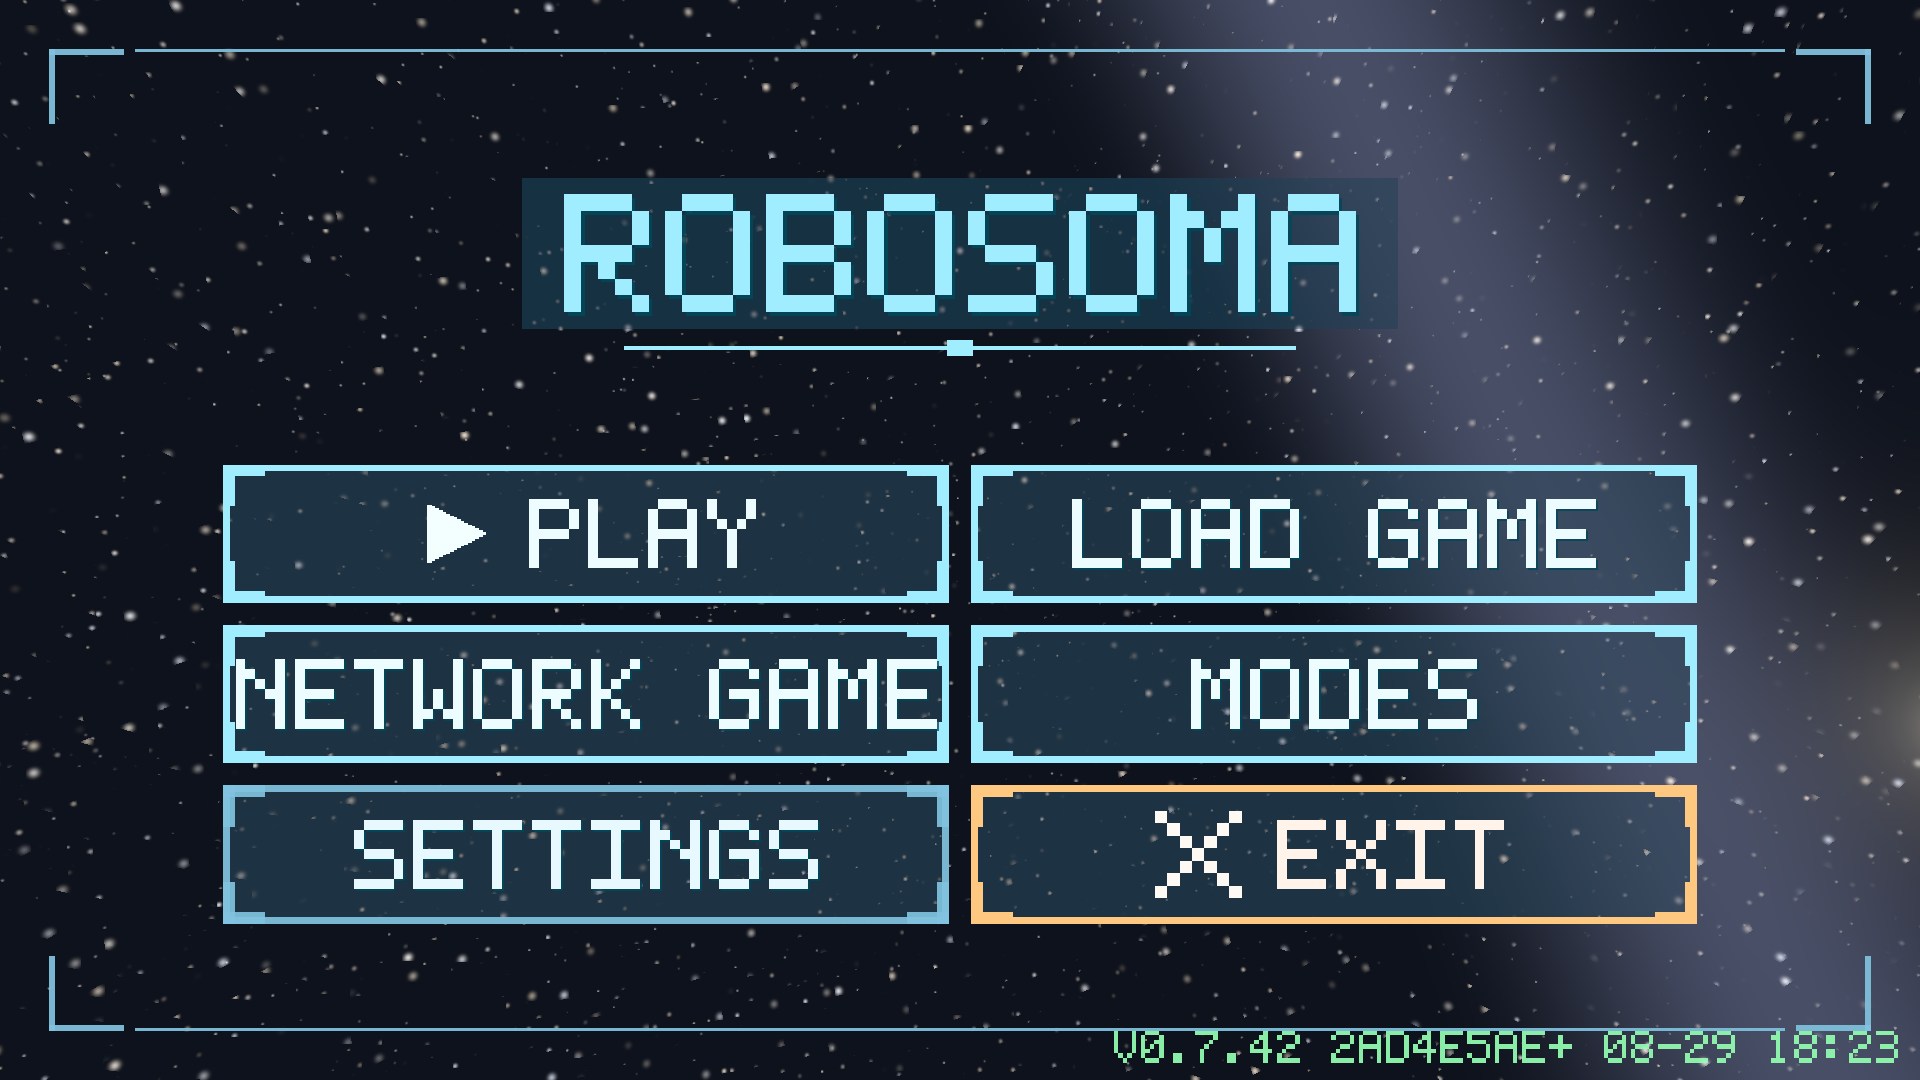
| PLAY | a single-player game against an honest AI commander. Every launch is a new random world: the terrain, the rocks and the deposits change with the world seed. |
| LOAD GAME | ten save slots (the last two are autosaves). |
| ONLINE PLAY | a one-on-one colony match against a live opponent through the game server (see section 15). |
| MODES | special games: AI against AI (you watch), a game against an LLM and a match between two neural networks - you will need your own key to an OpenAI-compatible service, entered in the same place. |
| SETTINGS | five tabs: SCREEN, AUDIO, CONTROLS, LANGUAGE, INFO - covered in section 13. |
2. Interface

The upper resource panel
On the left are your stocks, on the right the opponent's (what is known about them). Five counters in order: power (spare capacity of the grid), regolith, metal, water, Robosomas (how many machines are alive). The panel shows what physically sits in headquarters and warehouses - work in progress inside a workshop is not included.
The left column of buttons (from the bottom up)
| Hammer | the build catalogue - opens the lower panel of buildings. |
| Speech box | Robosoma remarks - turns the status windows above the machines on and off (“CARRYING REGOLITH”, “IN THE QUEUE”, “WAREHOUSE FULL”…). |
| Panel with a bar | progress bars above buildings - construction and storage-fill bars. |
| Eye | first-person mode - available when a Robosoma is selected (see section 11). |
| Frame and crosshair | camera auto-follow of the selected object. |
In the top left corner there is a large round button clear selection (a red crossed-out circle). In the top right corner is the hamburger: the game menu (resume / save / load / settings / exit to the main menu).
The information panel on the right
It appears when you select a Robosoma, a building or a deposit. From top to bottom: name and purpose, facts (power draw, supply, state), stock bars, the “-/value/+” controls and command buttons. Every building has a DEMOLISH button - it returns half the price (three quarters for an unfinished one). What each building can do is in section 6.
Status windows above the Robosomas
Every machine says honestly what it is doing or waiting for: “AWAITING ORDERS”, “BUILDING”, “LOADING”, “PATH BLOCKED”, “WAREHOUSE FULL”, “RESERVE”. This is the main diagnostic tool: when something stops, the caption explains why, with no logs at all.
3. Controls
PC (mouse)
| Left click on a Robosoma | select it; left click on empty ground and drag - a selection frame for a group. |
| Right click on the ground | a move order for the selected machines (a dashed route thread; distant orders also show the remaining time). |
| Right click on a deposit | mine it. |
| Right click on an enemy or enemy building | attack. Careful: the first shot turns the war on for good (see section 12). |
| Mouse wheel | zoom from orbit down to a single Robosoma. |
| Left-click drag | pan across the sphere. |
| F12 / F2 / PrtSc | a built-in screenshot as PNG (the path is shown on screen). |
Phone (touch, landscape only)
| Tap a Robosoma | select it. |
| Tap the ground | a move order for the selected machines; tap a deposit to mine it, tap an enemy to attack. |
| Press and hold | a selection frame (the delay is adjustable on the CONTROLS tab). |
| Two fingers | pan (drag) and zoom (pinch). A second finger cancels a frame that has already started. |
Building works the same on both platforms: the hammer button → a building card → the ghost → confirmation on a valid site (section 5).
4. First colony
A game begins with one Robosoma and a starting stock of 250 metal and 230 regolith - exactly enough for the first four buildings that start the metal conveyor. After that resources are only mined, so the first decision of the game is the most important one: where to land.
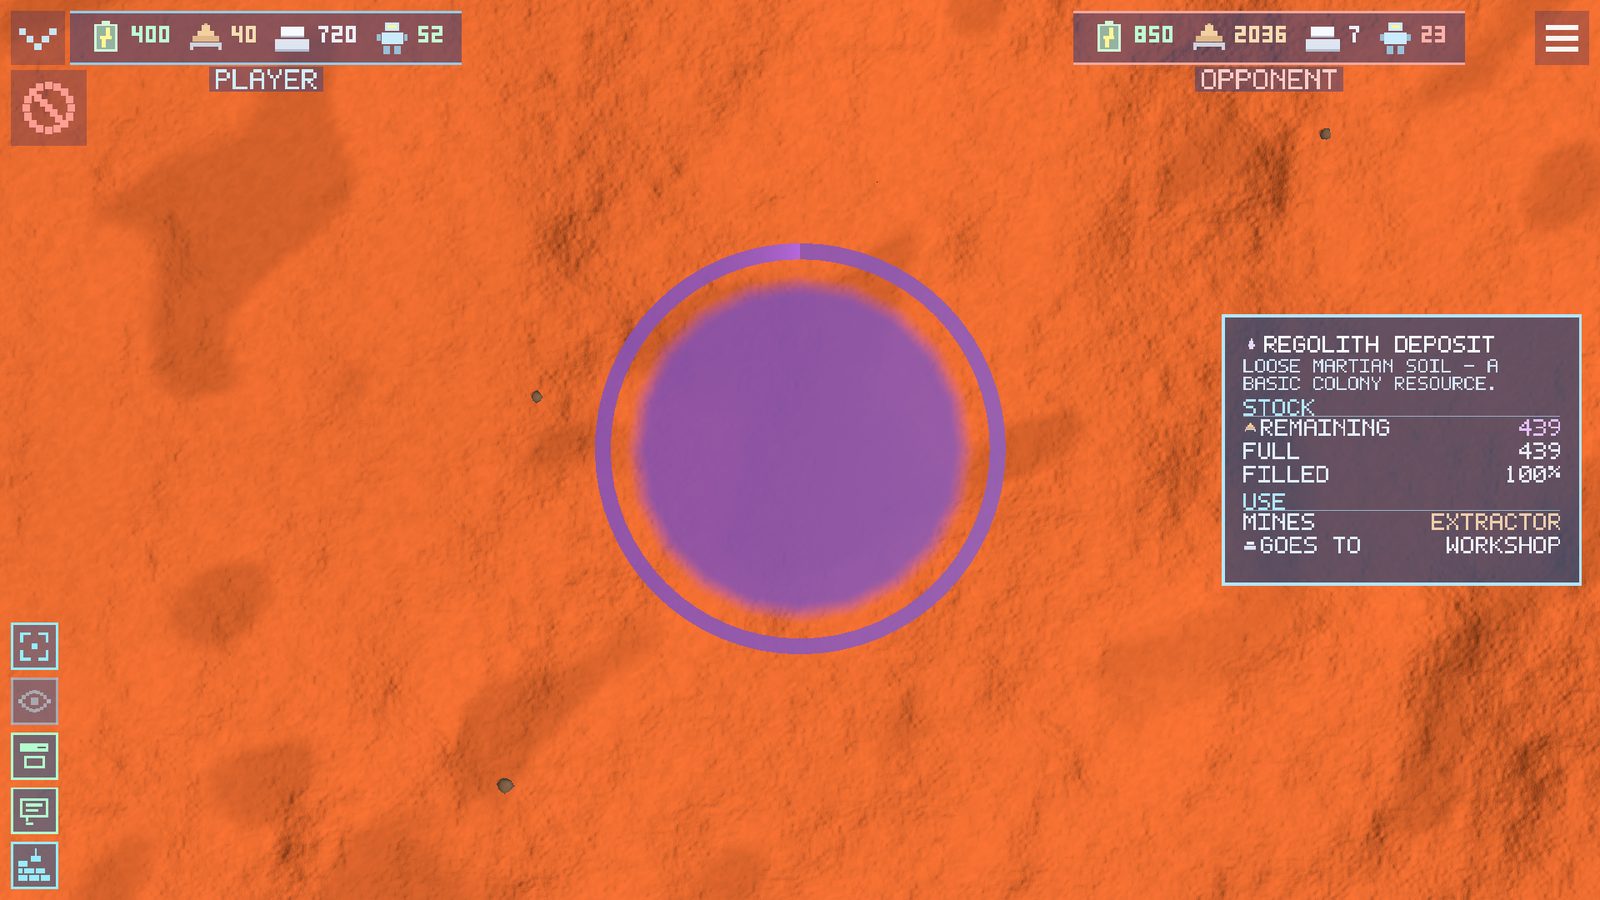
Deposits are dark stony patches on the ground, visible from altitude. The kinds are: regolith (the basic raw material - the workshop cooks metal out of it), ore (a steely sheen) and ice (pale patches; water for fuel is worth its weight in gold - there is almost no ice near the equator and plenty near the poles). Tap a deposit and the panel shows its reserve.

5. Building rules

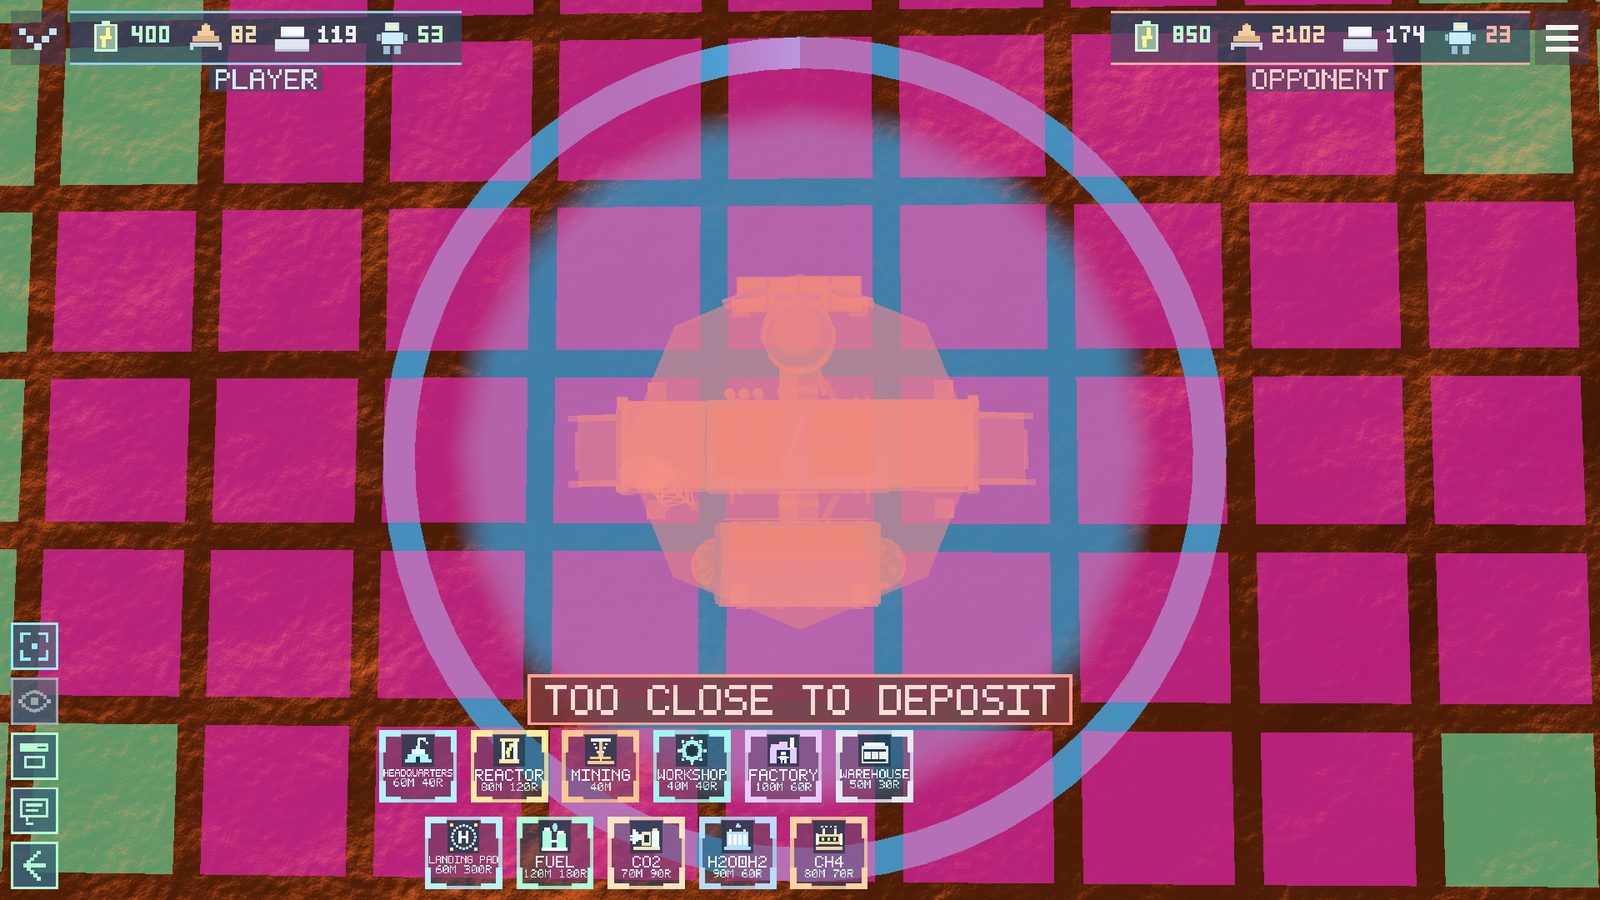
Press the hammer and a catalogue of eleven buildings opens. Choose a card and a ghost: green means you may build, red means you may not, and the reason is written straight on the screen. Confirming on a valid site starts the construction.
The rules (the game checks them itself)
- Headquarters comes first. Without it nothing can be started: it opens a construction zone with a radius of 250 metres (the blue fill). Every other building goes only inside the zone of one of your own headquarters.
- No further than 500 metres from your own. A site may be started next to a living Robosoma or a building - there is no such thing as a builder half a planet away.
- Slope up to 40°. On a steep slope you get the refusal “TOO STEEP”.
- The site must be free: not on a rock (“A ROCK IS IN THE WAY”), not on top of another building (“A BUILDING IS NEAR”), not on a deposit (“TOO CLOSE TO DEPOSIT”). The exception is the extractor: it is placed only on a deposit (“A DEPOSIT IS NEEDED”).
- Resources are deducted immediately when the site is started. If they are short, you get “NOT ENOUGH RESOURCES”.
- A Robosoma does the building. The nearest free machine comes to the site by itself and assembles the building over its construction time; a neon progress ring turns around it.
- Demolition returns 50% of the price (75% for an unfinished building).
6. Buildings
The order below is the recommended order of colony development.
Headquarters - 60 M / 40 R
The command centre: it opens a 250 m construction zone, remembers the colony and serves as temporary storage (it holds 250 metal and 230 regolith) with one loading port and one unloading port. Until there is a separate warehouse, everything mined comes here - and when its capacity runs out, it is time to build a warehouse.
Nuclear reactor - 80 M / 120 R
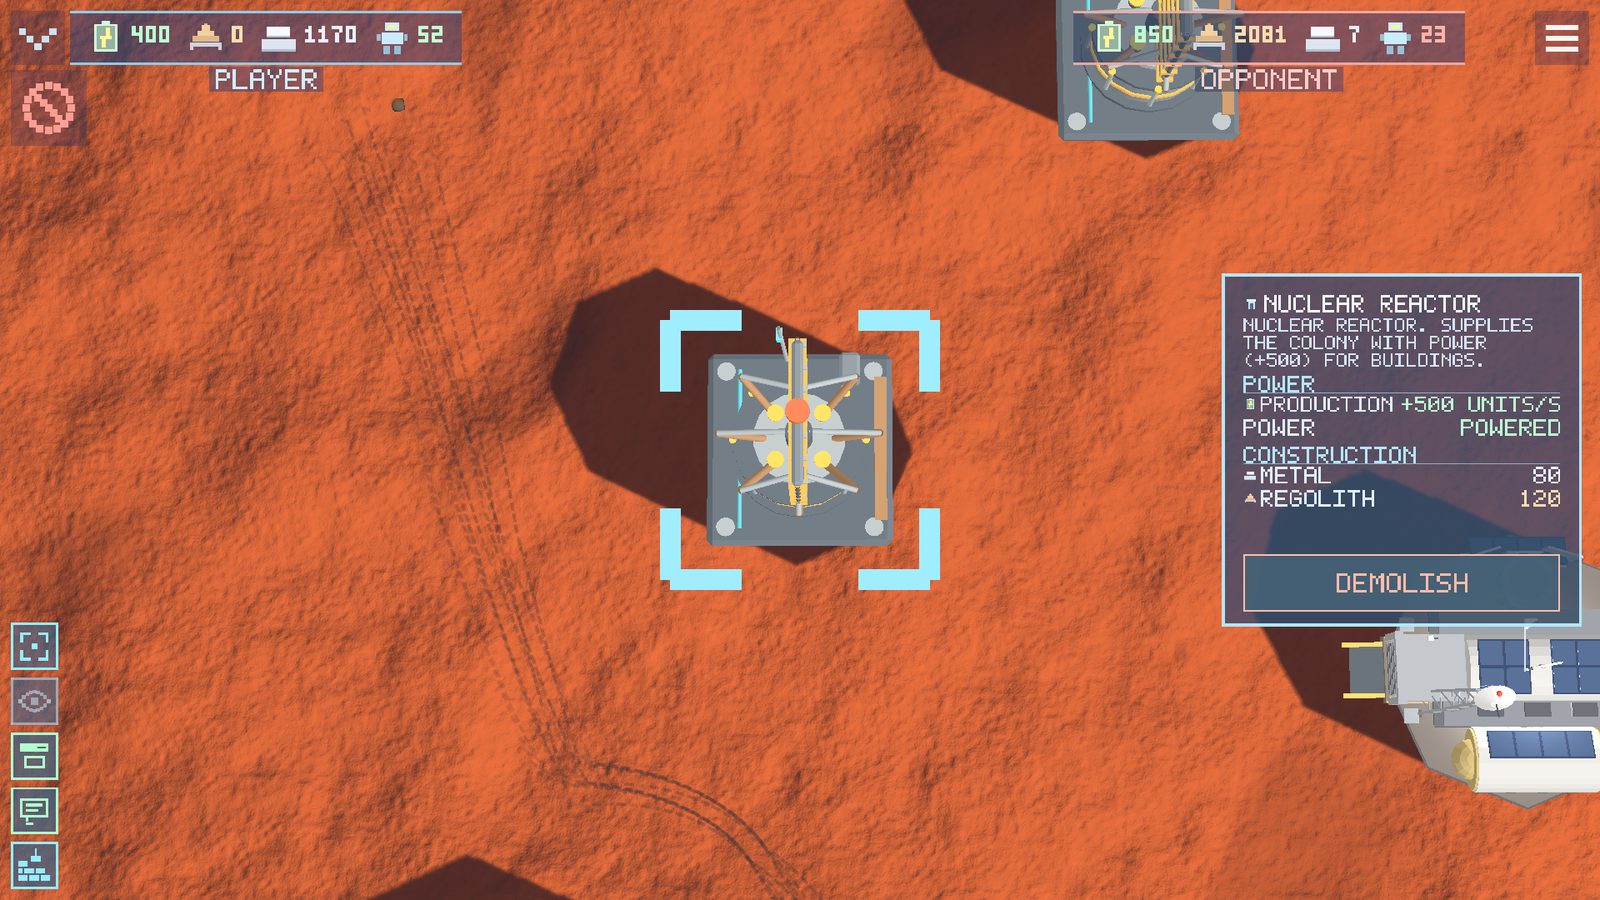
The heart of the power grid. Without power the warehouse accepts no cargo, the workshop stands still and the factory is silent. Build the reactor second - and watch the power counter at the top: when it goes negative, another one is needed.
Extractor (“MINING” in the catalogue) - 40 M
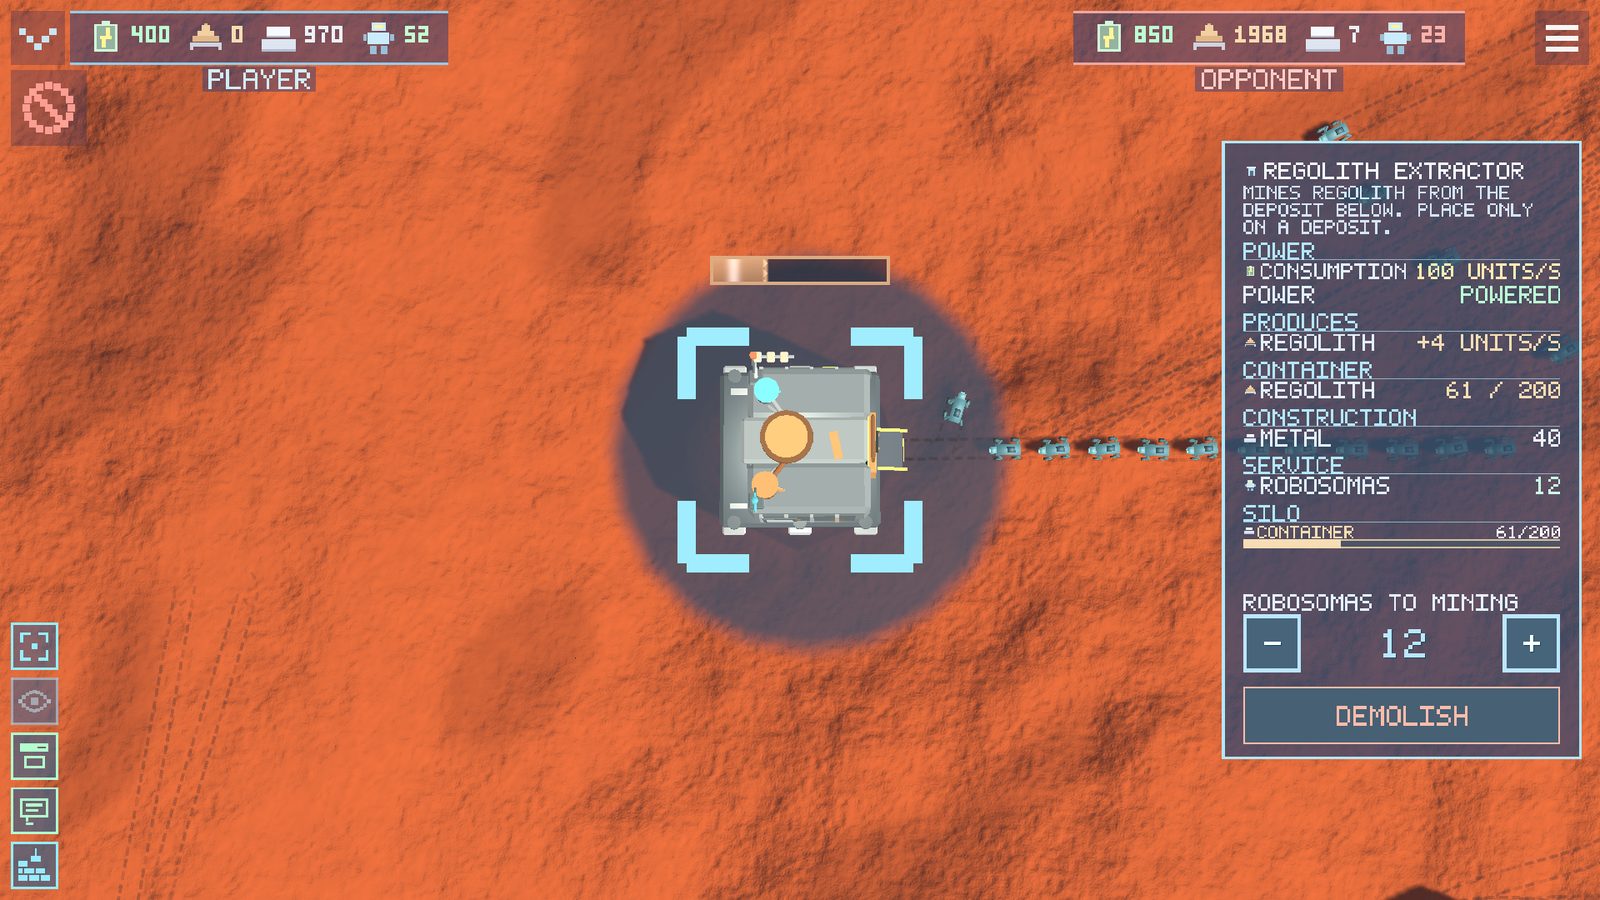
It is placed only on a deposit and mines what is inside it. The panel has a “-/+” control: how many gatherer Robosomas carry raw material away from it. Gatherers are taken from the free machines of this colony automatically. While there is no warehouse, the output goes to the headquarters store.
Workshop - 40 M / 40 R
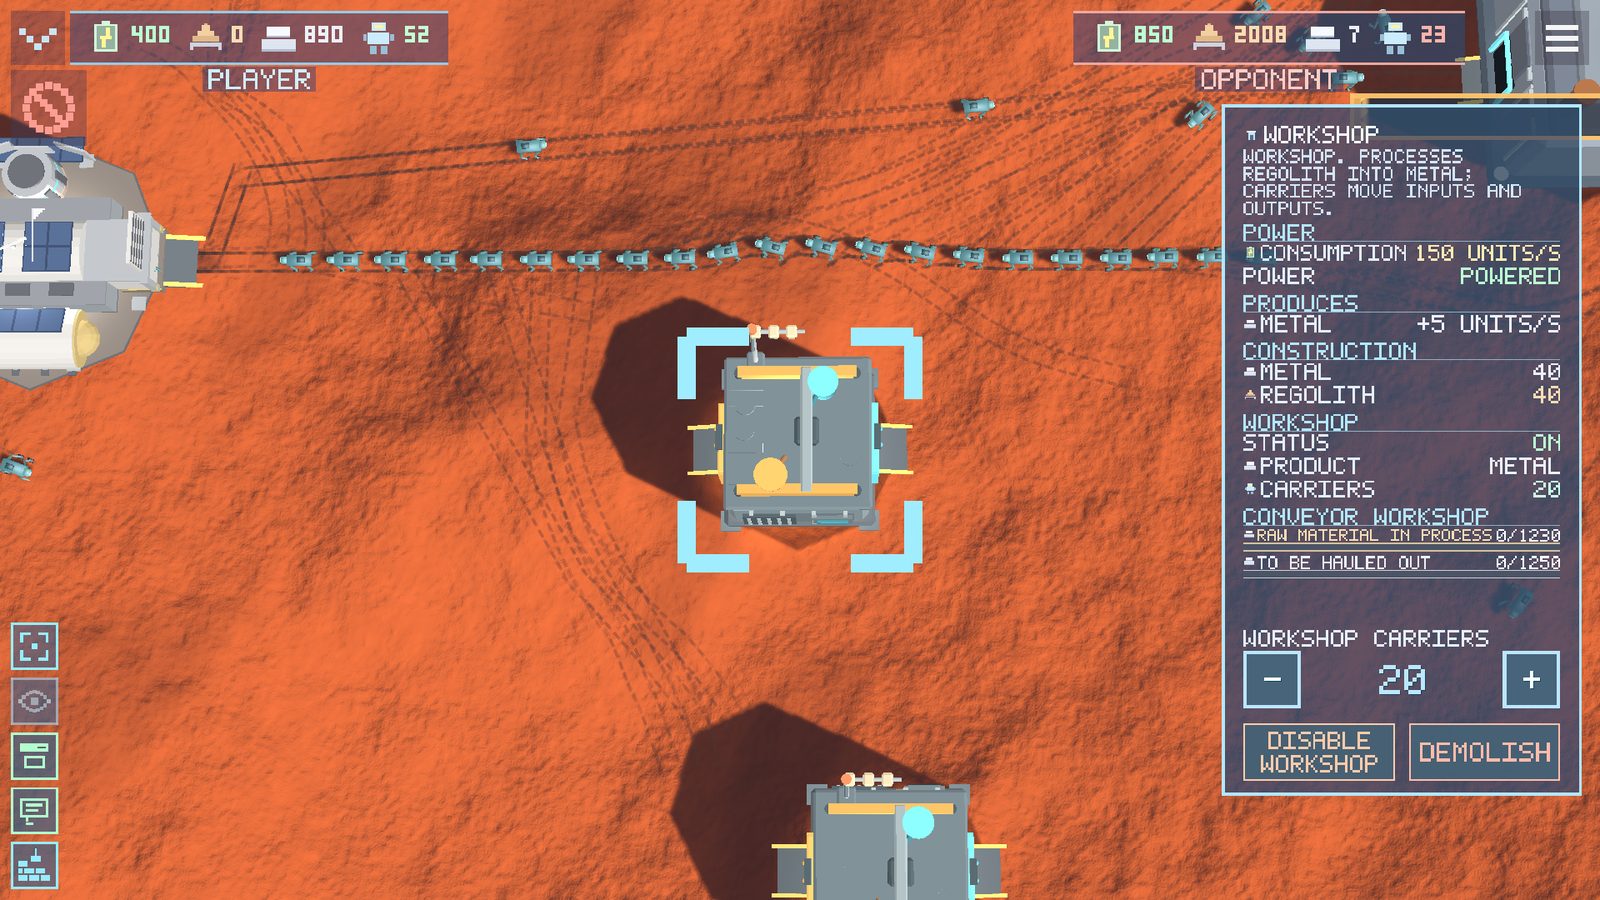
It melts regolith into metal - the only source of metal in the game. It draws 150 units of power. The panel has an ON/OFF switch and a control for the number of carriers on shift. Carriers bring regolith from the warehouse to the workshop and metal from the workshop to the warehouse and the factory. The workshop has two gates: machines deliver raw material on one side and collect production on the other. The workshop is the fourth of the starter buildings: it is after this one that the colony starts earning metal on its own.
Warehouse - 50 M / 30 R
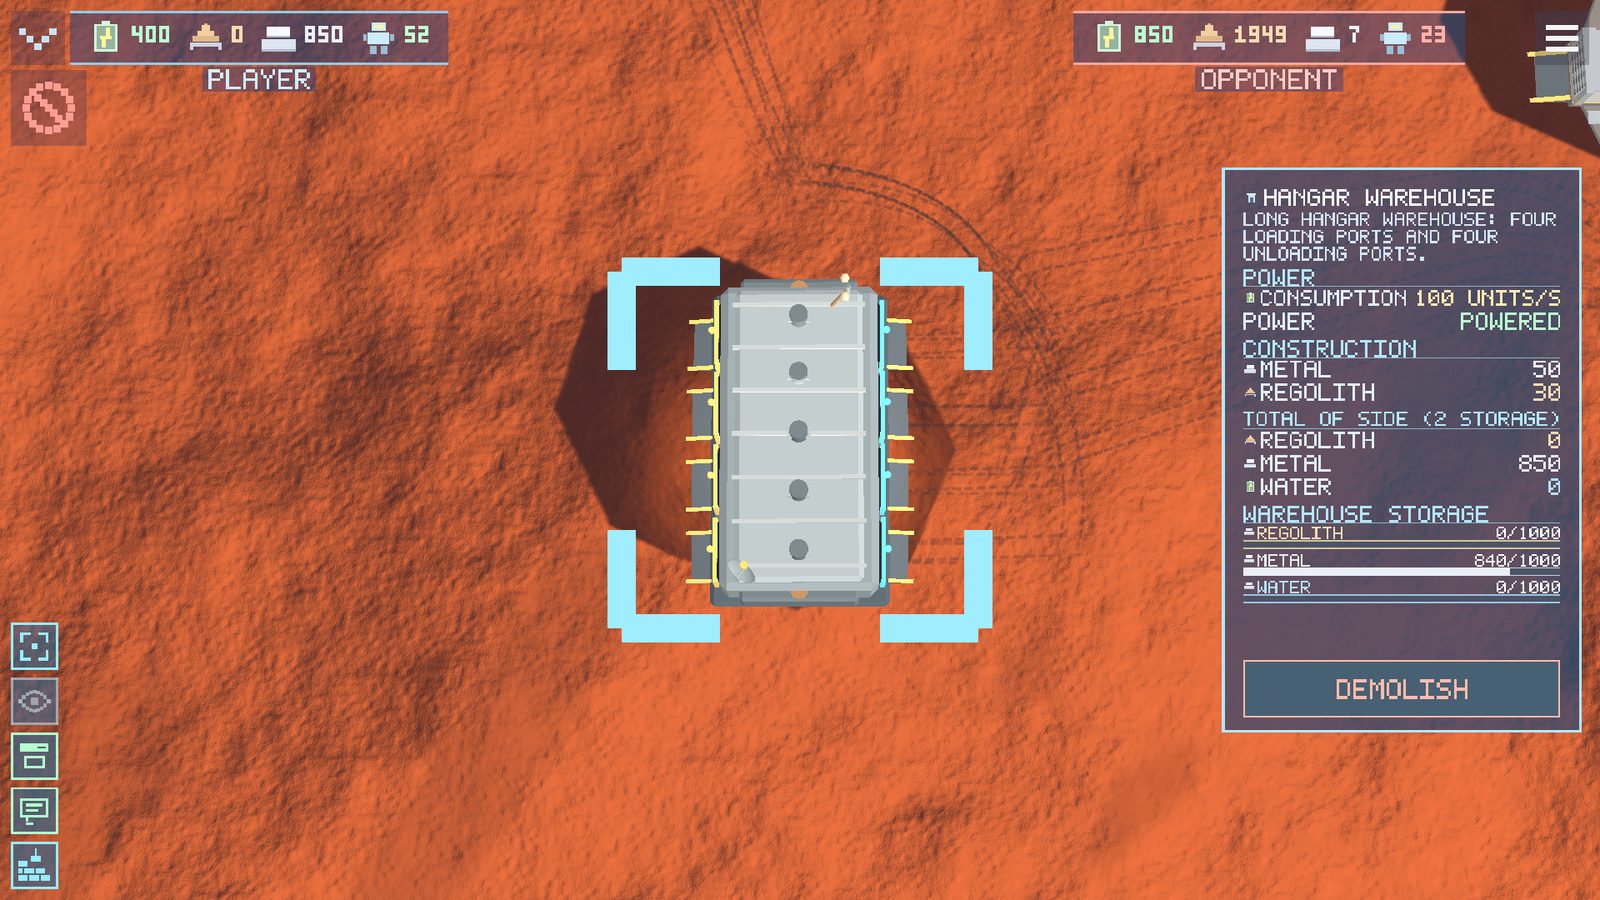
It is built from mined material, when the headquarters store (250 metal / 230 regolith) begins to overflow. Every powered warehouse extends the colony capacity by +1000 of metal and regolith and provides four loading and four unloading ports - carrier queues are spread over the least busy gates. A warehouse without power does not work at all. If Robosomas stop with the caption “WAREHOUSE FULL”, it is time to build the next one.
Robosoma factory - 100 M / 60 R
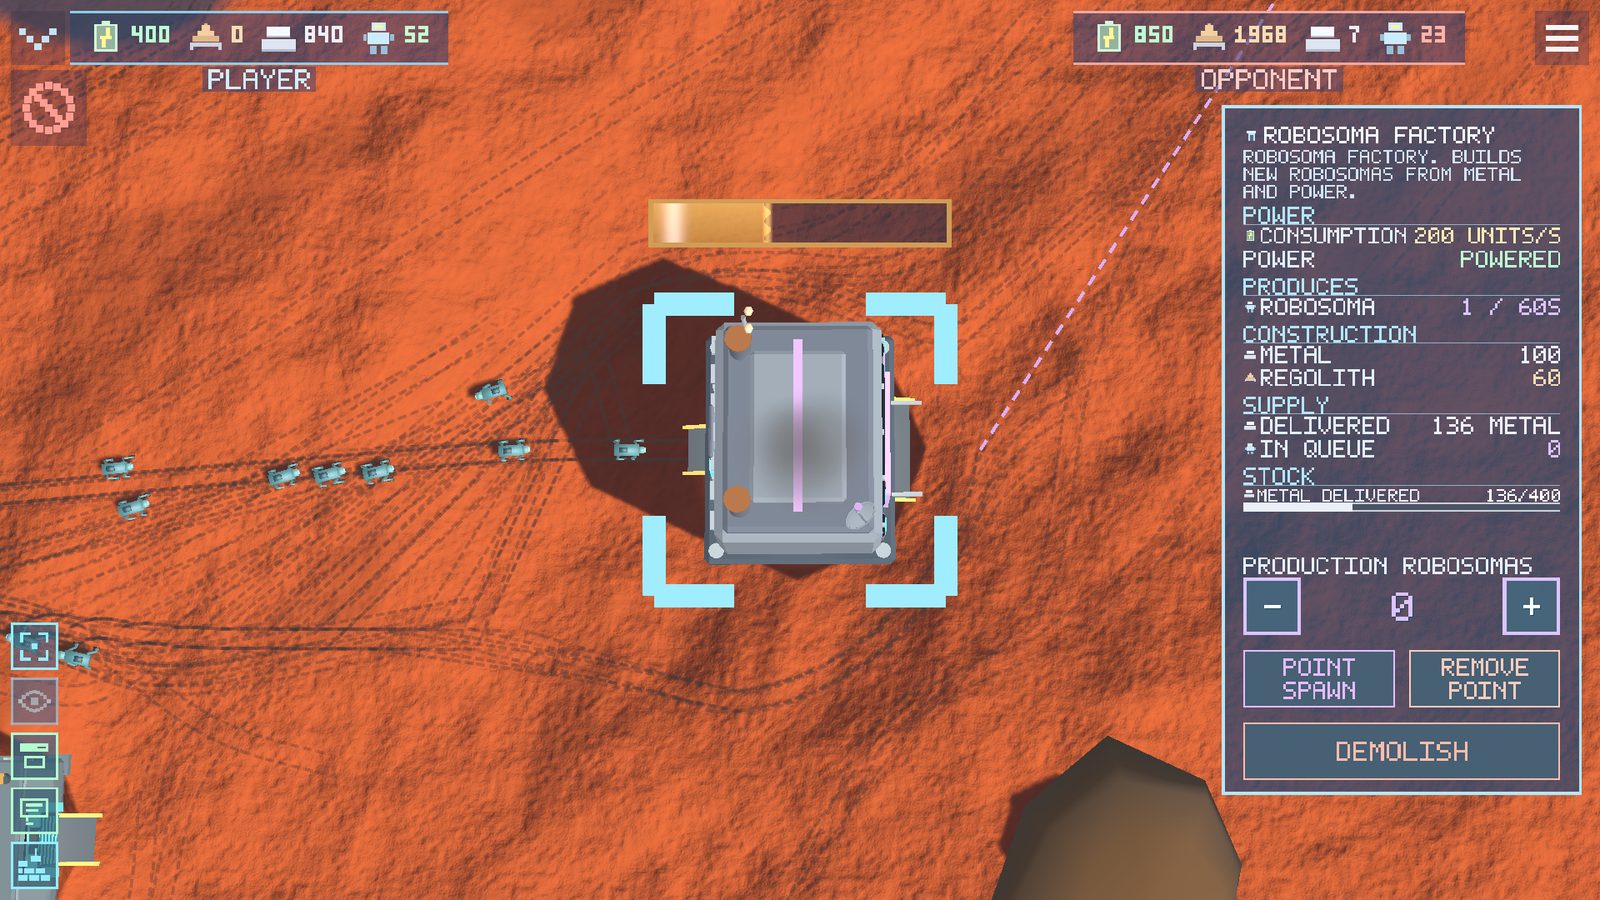
It produces new Robosomas out of metal. Only on your order: the “ROBOSOMA PRODUCTION” control in the panel - press “+”, assembly runs with a visible progress bar, and the finished machine walks out of the gate on its own legs. Carriers deliver the metal for the order into the factory buffer in advance; the game always keeps a reserve of about 200 metal in the common pool for construction, so the factory will not eat everything.
The rocket branch
Pad (60 M / 300 R) - the landing plate of the ship; it can be started only when the fuel plant is ready. Cryogenic fuel plant (120 M / 180 R) and the three nodes of the chain - CO2 (70 M / 90 R), H2O H2 (90 M / 60 R), CH4 (80 M / 70 R) - are covered in section 9.
7. Logistics
The main chain of a colony:
All of this is carried by real machines over real terrain. Queues form at the gates, the first in line is served for a second and a half, the doors rise and the robot drives inside. A jam at a single workshop is an honest problem: build a second workshop or add warehouses closer to the mining.
A free machine with no trip writes “RESERVE” - it can be taken for any order. If a gatherer has nowhere to unload, it waits for a while, then drops its load and returns to the common pool: the game does not allow permanent jams, but the time lost is yours.
8. Expansion
One deposit is finite: the ring around it fills up and the mining runs dry. That is why a developed game is a network of colonies, each at its own deposit. More colonies mean more regolith and metal per hour, more factories, more spare reactors; losing one base stops being a catastrophe. Growth is the survival strategy.
How to found a new colony
- Find the next deposit - neighbouring ones are visible from altitude.
- Send two or three Robosomas there with a move order. The order “resettles” the machine: it becomes a resident of the new colony and will not run home.
- Build headquarters there (it opens a new 250 m zone), then a reactor, a warehouse, an extractor and a workshop - the same order as at the start of the game.
- The hands of each colony work for it: gatherers and carriers do not walk kilometres into someone else's base.
Is the target thousands of metres away? It is faster and safer to move the founders by hopper.
9. Fuel
The ship flies on methane and oxygen, and the colony makes both components on site - as in real designs for Martian plants. The full chain has four nodes:
H2O H2 (electrolyser): water → hydrogen + oxygen.
CH4 (Sabatier reactor): CO₂ + hydrogen → methane.
FUEL (cryogenic plant): liquefies methane and oxygen → ship fuel.
Between the nodes everything is carried by delivery Robosomas with cylinders on their backs - there are no pipes in the game. Water for the electrolyser comes from the warehouse; water is mined by an extractor on an ice deposit.

No ice nearby? The cryogenic plant can roast regolith - Martian soil holds 1-3% bound water. This always works, but it needs twelve times more regolith and runs twice as slowly: looking for ice pays off. The cryogenic plant can also manage alone without the rest of the chain - but three times more slowly: four nodes are faster than one.
Finished fuel is carried from the plant to the pad by tankers - the same Robosomas with a cryogenic tank. The ship refuels from the pad tanks. A full tank is 7,600 kg; the longer the trip, the more fuel it writes off.
10. The Strizh hopper: flights and the cockpit
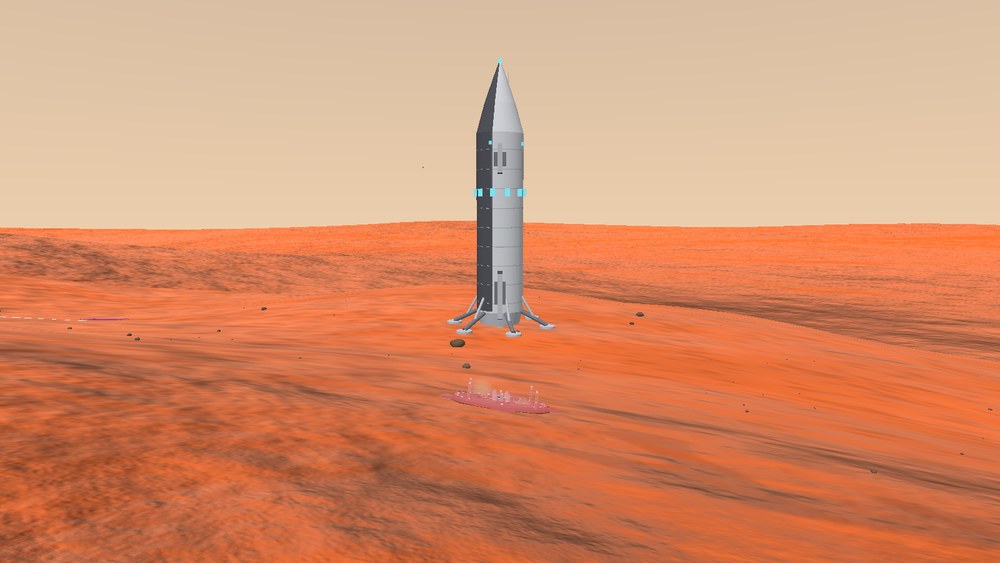
A ship with a full tank arrives at the colony's first finished pad. In minutes it can move a landing party of Robosomas to a place that would take hours on foot.
A flight in three clicks
- Select the pad - in the panel: LOAD (the Robosomas walk up the ramps), FLY (point at a spot on the planet), UNLOAD, COCKPIT.
- After launch you see a dashed arc and an “N min left” timer.
- You can land on any level spot - but after a “wild” landing far from a pad the ship will not take off again: build a colony with a pad nearby and five Robosomas will tow it onto the plate (the TOW order in the ship panel).
The cockpit: manual flight

The COCKPIT button in the pad panel puts you at the controls. There is no windscreen - you look at a wide monitor of external cameras (five of them: NOSE, RIGHT, REAR, LEFT, DOWN).
| PC | |
| W/S | more or less thrust. |
| R/F | nose down/up (pitch). |
| A/D | yaw (turning the nose). |
| Q/E | roll. |
| Space/Ctrl | vertical jets: higher/lower. |
| Mouse | turns the viewing camera (not the ship). |
| 1–5 | switches cameras. |
| T | auto-trim - level the nose to the horizon. |
| L | auto-landing from any attitude. |
| H | built-in help. |
| Esc | leave the cockpit (the ship lands neatly by itself). |
| Phone | |
| Joystick on the left | pitch and yaw. |
| Slider on the right | thrust. |
| The pad beside the slider | RCS up/down and roll left/right. |
| Swipe on the right half | turns the viewing camera. |
| Buttons | camera tabs, AUTO-LANDING, “?” for help, EXIT. |

11. First person

Select a single Robosoma and press the eye button in the left column - you are inside the machine and walking through the red dust yourself.
| PC | WASD or the arrow keys - movement; the mouse - looking; left mouse button - a laser shot; Esc or pressing the eye button again - exit. |
| Phone | the joystick on the left - movement; a swipe on the right half - looking; the “FIRE” and “EXIT” buttons. |
12. Combat

The rules
- A game begins in neutrality: the sides ignore each other even when they meet face to face. Foreign scouts will walk through your base - that is legal.
- War is switched on by the first combat action - an attack order against another side's Robosoma or building, or a shot in first person. It does not matter whose: yours or the opponent's.
- There is no way back. No peace treaty exists: after the first shot both sides attack any enemy in sight until the end of the game.
- Every Robosoma has a laser - there are no separate “military” units. The army and the workforce are the same machines.
- Buildings have durability: they can be knocked out deliberately (right click on a building). A destroyed factory hurts more than ten destroyed machines.
When to declare war - advice
- Not by accident. One careless click on another side's machine and peace is over. Check where you are pointing until you are ready.
- Not before you have scale. A Robosoma in combat is metal spent: a lost machine neither mines nor builds. Fight when the economy can survive losses: several colonies, a couple of factories, a reserve of metal to replace them.
- Count the forces. The crowd wins: twenty machines against ten is almost always a victory with small losses. The AI commander thinks the same way: it scouts your base and attacks only with an advantage. Spoil its arithmetic - keep the army out of sight and meet scouts far from the main factories.
- Hit the economy. A reactor puts out a whole node: without power the opponent's workshop, warehouse and factory stop. The factory is their future army.
- Prepare the rear. Before an attack: a spare reactor and a warehouse in every colony, and Robosoma orders at the factories. A war is won on the conveyor.
In a single-player game the AI commander does not touch you first until you have serious scale - a typical game stays a peaceful expansion race for several hours. Use that time.
13. Settings
At the top there are five tabs of equal size: SCREEN, AUDIO, CONTROLS, LANGUAGE and INFO. On a phone they do not shrink with the number of options. The busiest tab, SCREEN, is split into three further pages: MAP, FRAME and EFFECTS.
SCREEN → MAP
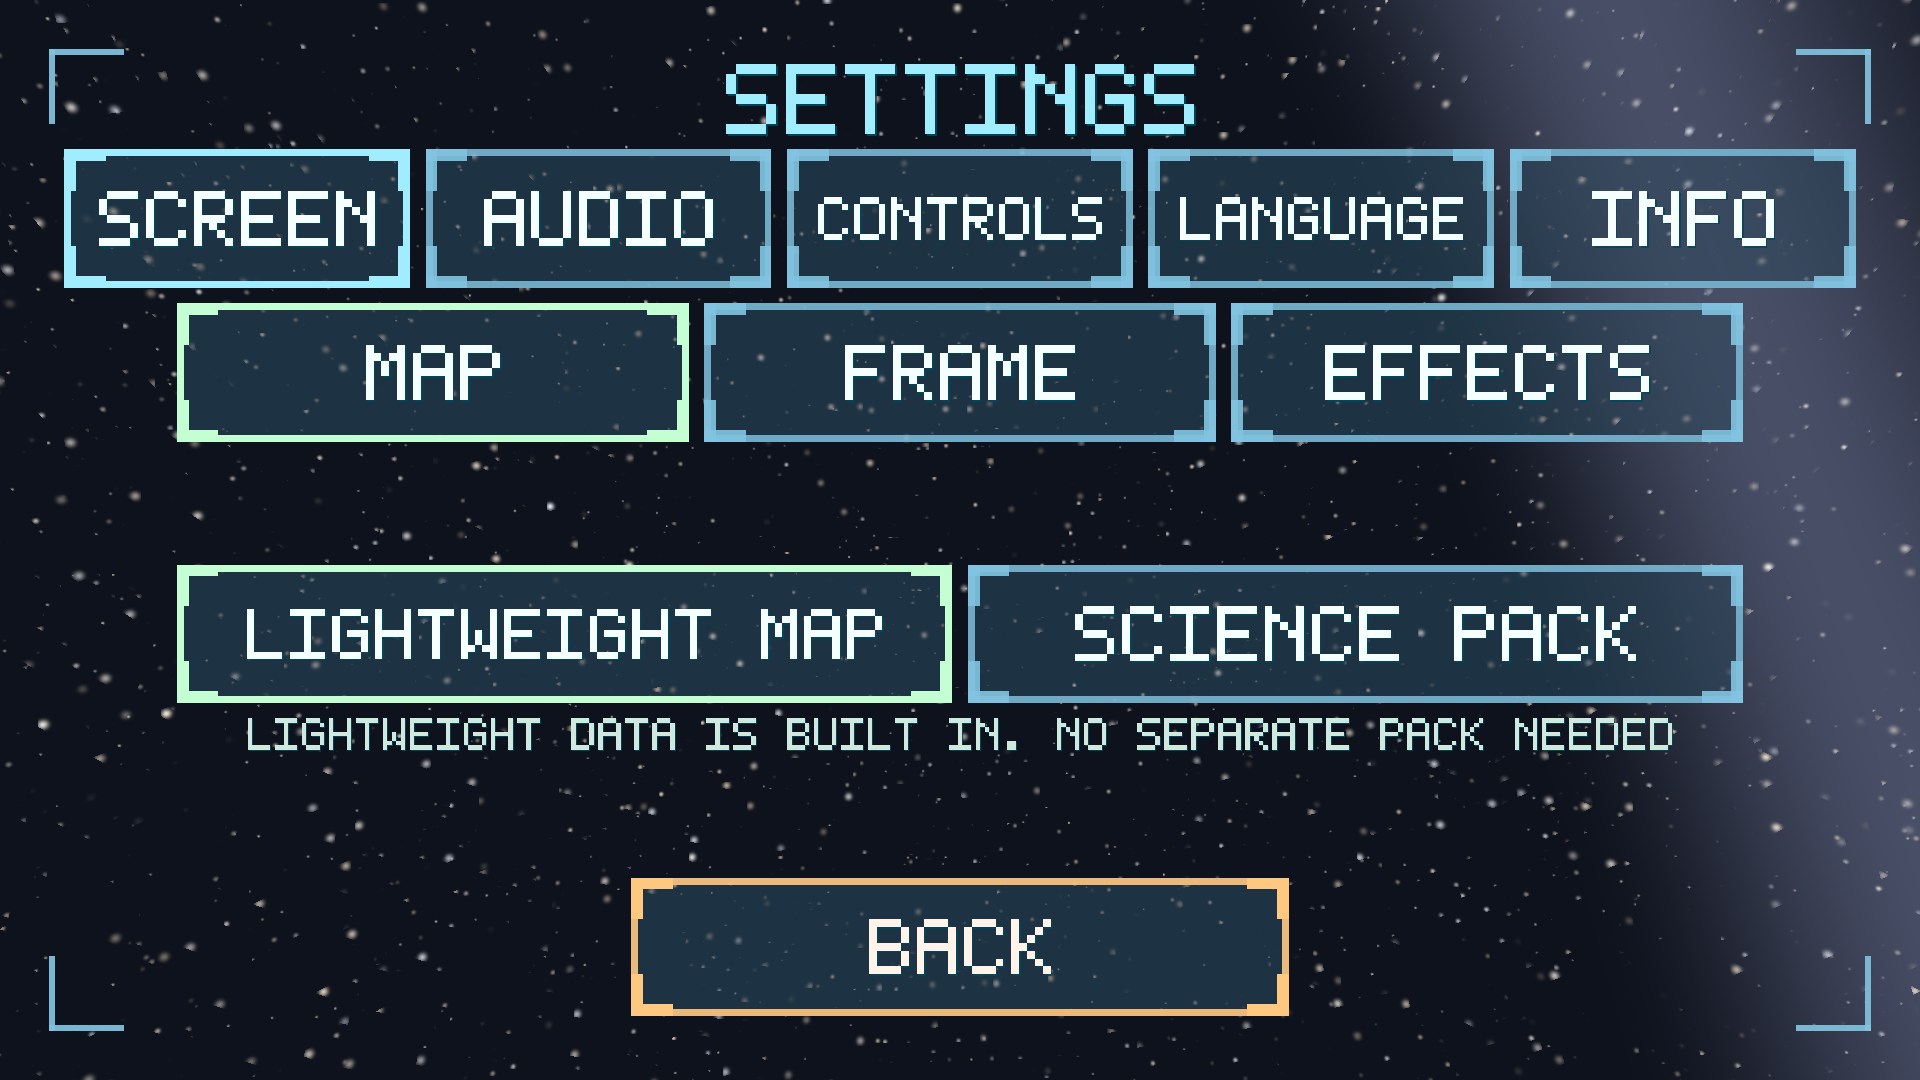
| MAP QUALITY | LIGHT PROCEDURAL - textures from the game package, works immediately. SCIENCE PACK - terrain from real imagery (the map pack of about 13 GB is downloaded separately and picked from the list of found folders). |
| FILE ACCESS | On Android the button opens the system folder picker. After permission is granted, saves live in the open folder /Robosoma: they can be copied, moved between devices and attached to a bug report. |
SCREEN → FRAME
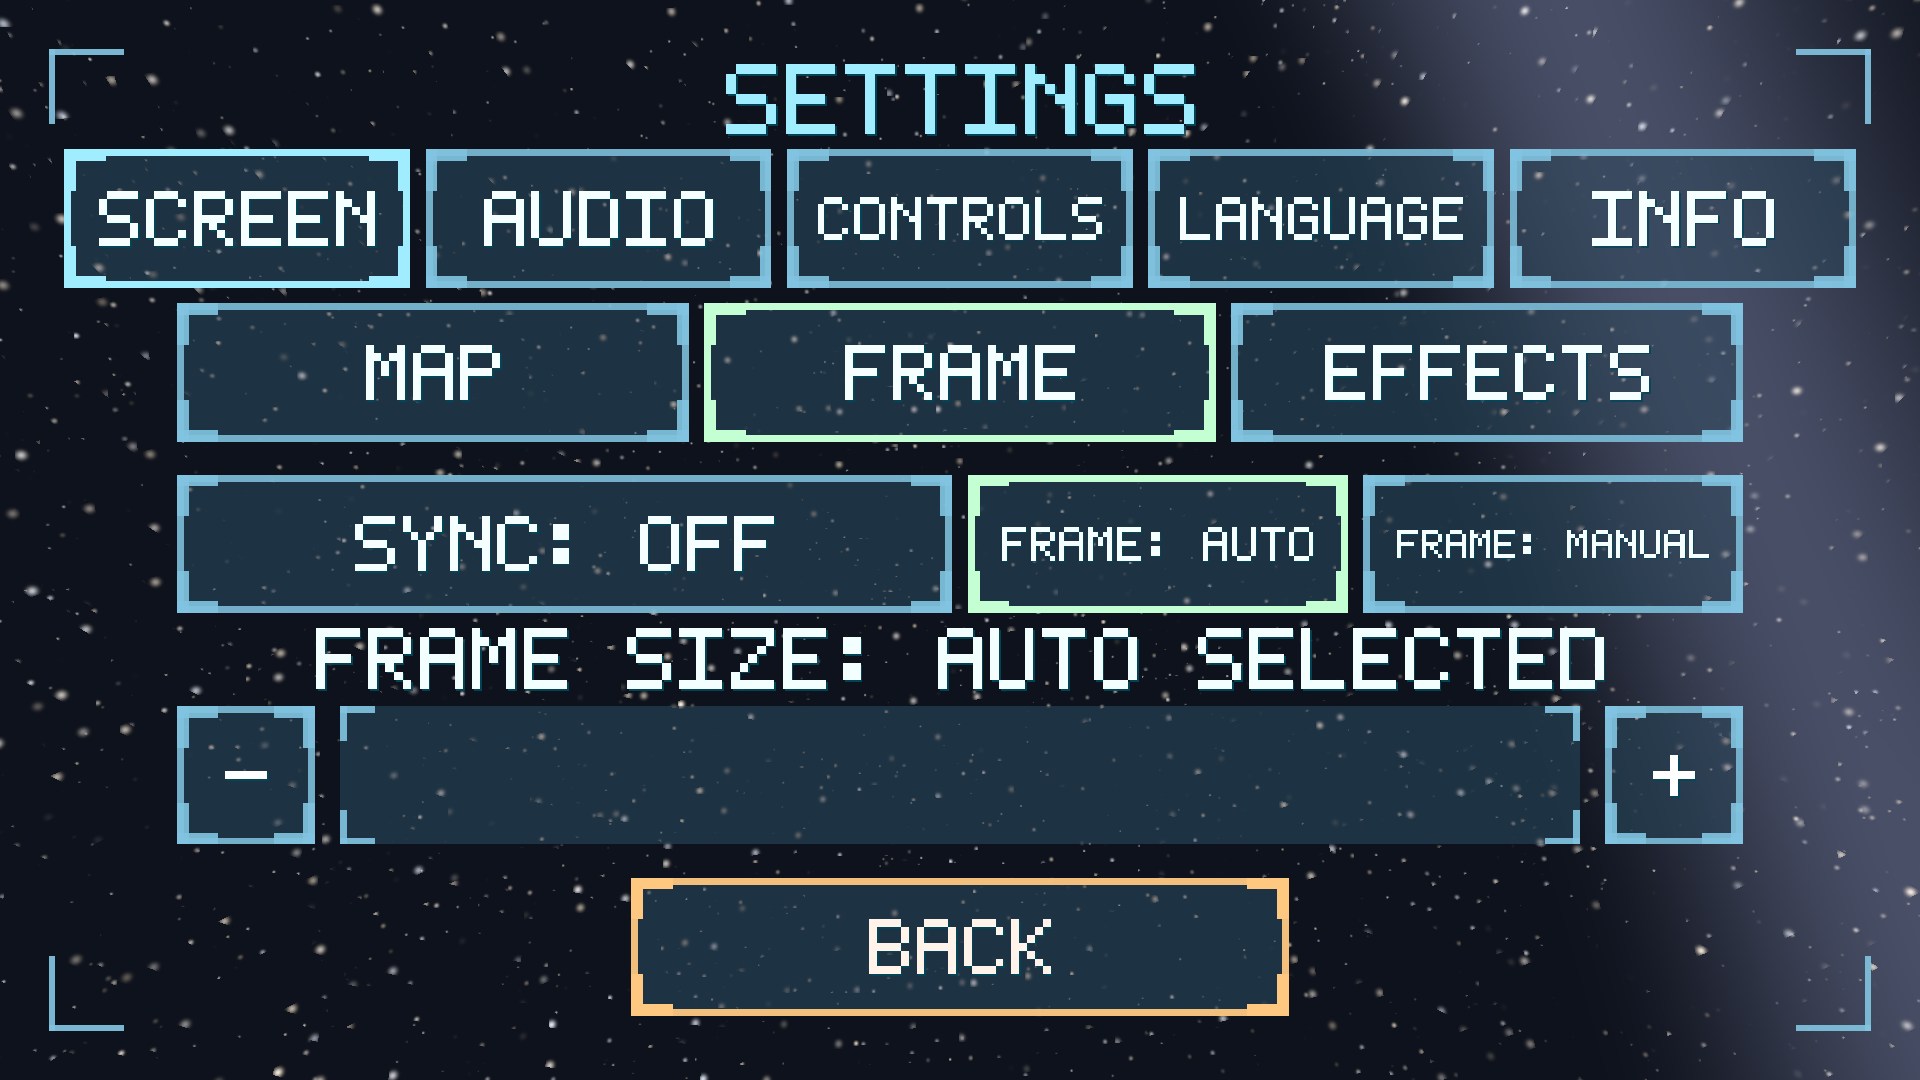
| VERTICAL SYNCHRONISATION | removes frame tearing by limiting the frame rate to the screen refresh rate. It is off by default - there are more frames that way. |
| SCENE RESOLUTION | the main performance lever. AUTO - the game chooses for itself (by load on a phone, full on a PC). MANUAL - the FRAME SIZE slider from 40 to 100%: the world is drawn smaller and stretched, while the interface always stays sharp. In a large battle, dropping to 55% almost doubles the frame rate. |
SCREEN → EFFECTS
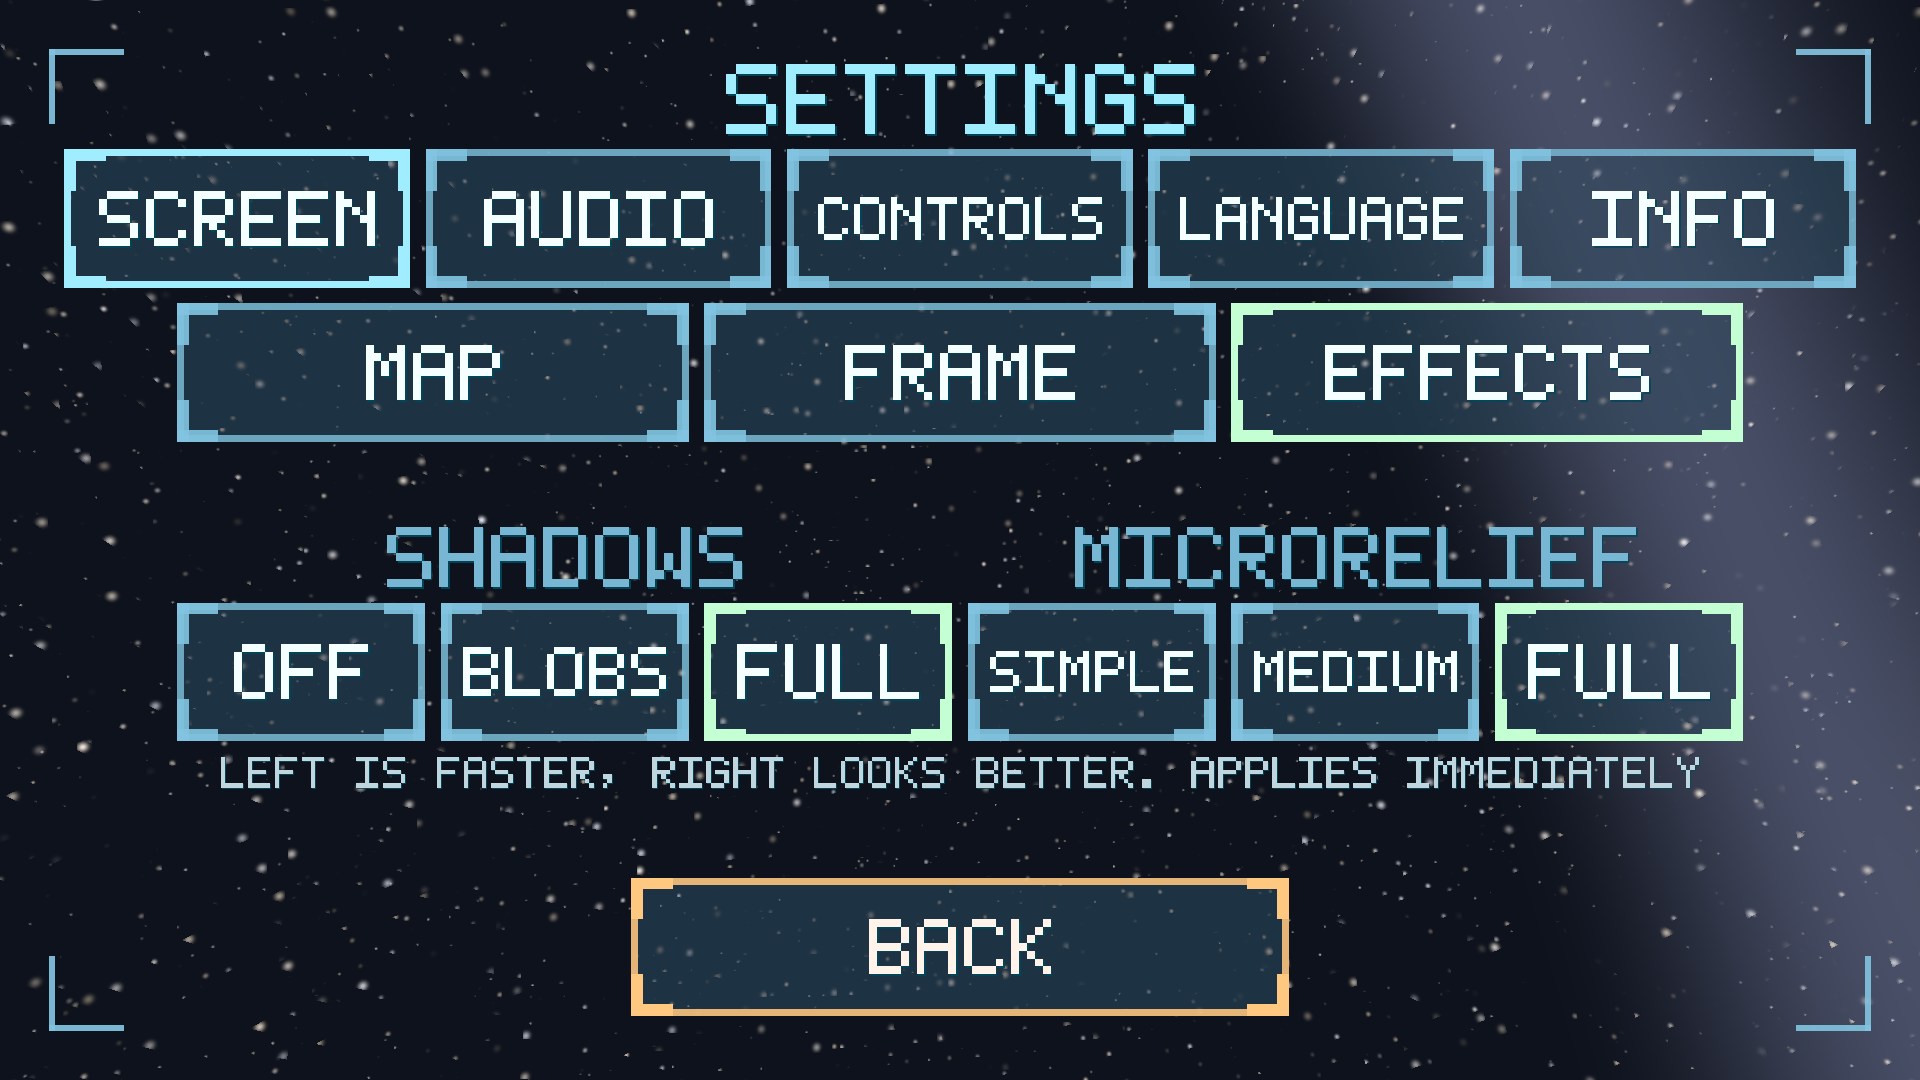
| SHADOWS | OFF / PATCHES (soft patches under objects) / FULL (patches plus real shadows close up - a little more expensive). |
| MICRO-RELIEF | SIMPLE saves resources, MEDIUM keeps more small roughness, FULL shows the maximum available detail. |
AUDIO
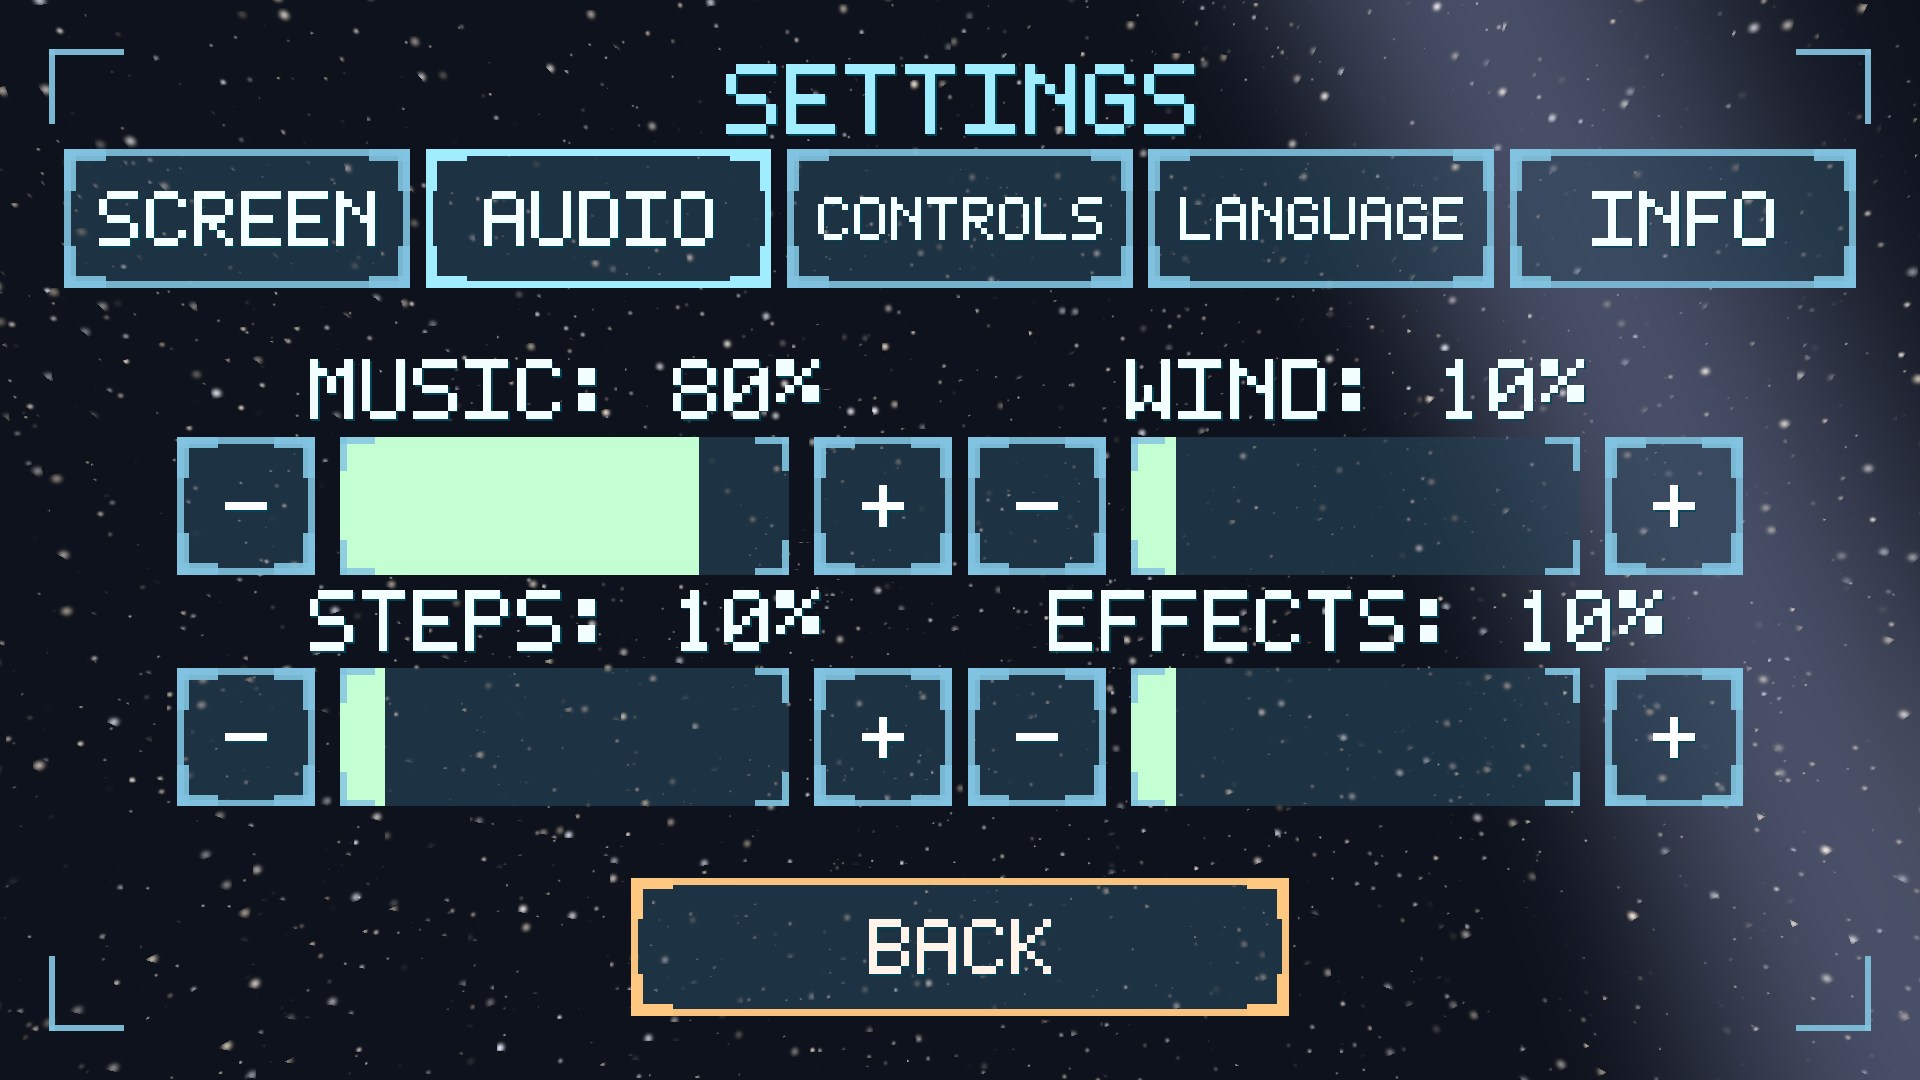
Four volume sliders from 0 to 100%: music (seventeen tracks that change with what happens in the game), wind (background ambience), steps (the Robosomas and their motors), effects (shots, construction, gates).
CONTROLS
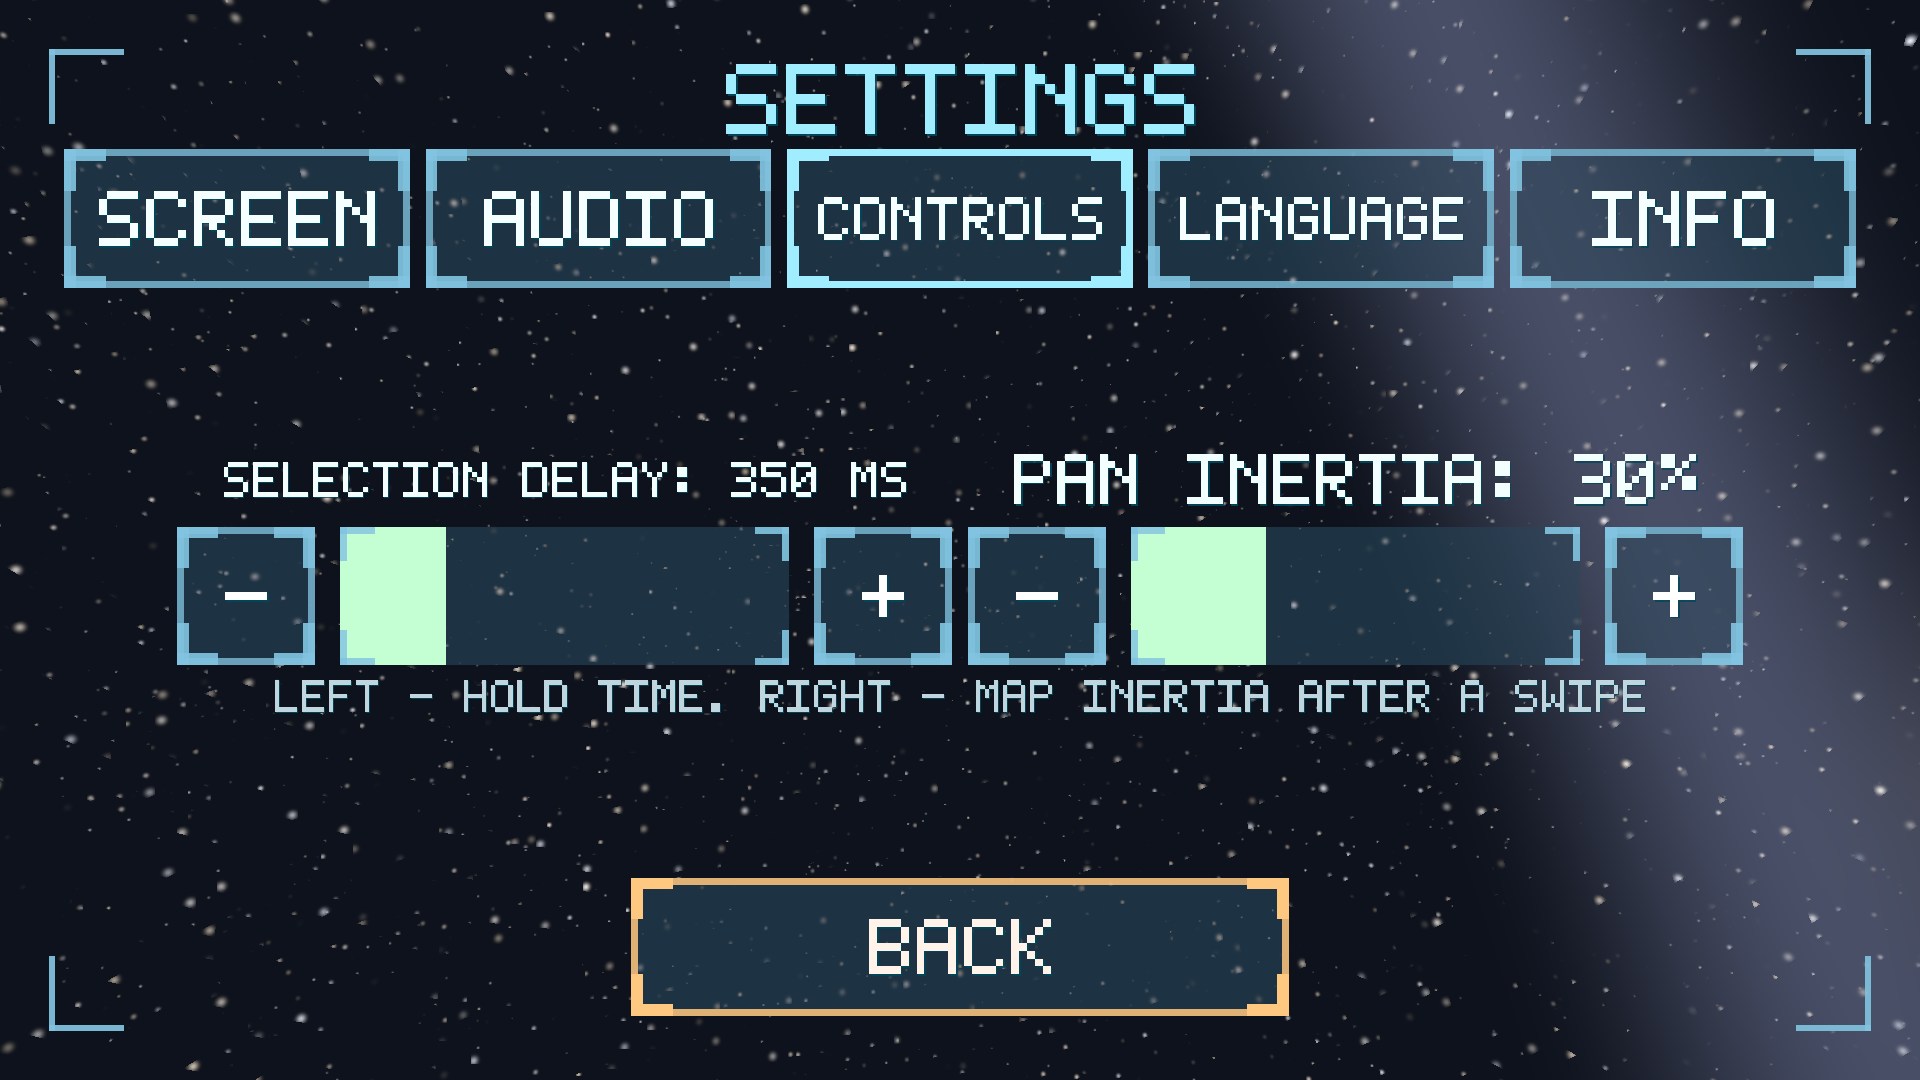
| FRAME DELAY | how many milliseconds to hold a finger before a selection frame starts (150-1000 ms). Less means a faster frame, but it is easier to trigger by accident. |
| PAN INERTIA UP CLOSE | how much “glide” the map keeps after a swipe right at the surface: 0% - the map stops at once (precision), 100% - it slides as it does at high altitude. |
LANGUAGE
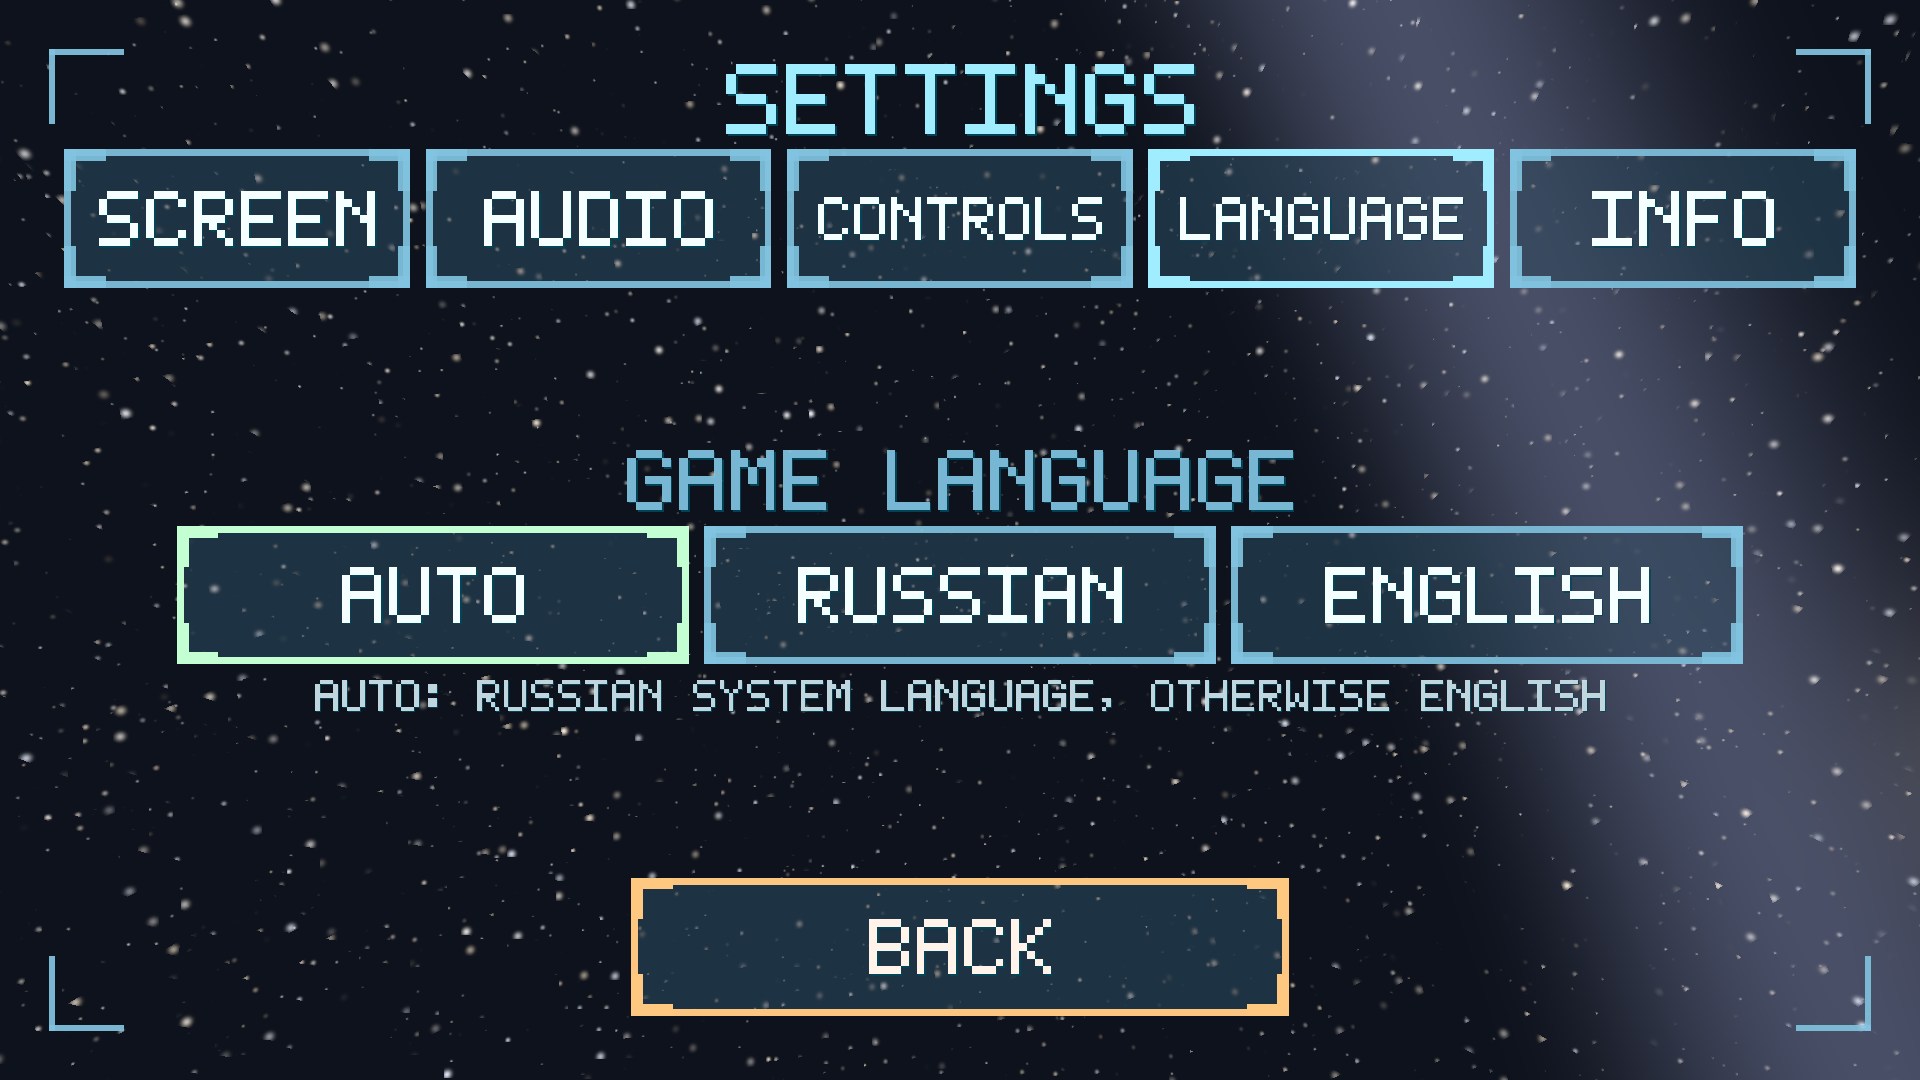
AUTO follows the device language: Russian for a Russian system, English for the rest. RUSSIAN and ENGLISH fix the chosen language regardless of the system settings. The change applies at once and is saved.
INFO
Here you find the privacy policy and the support address. The buttons open only the official HTTPS address and a mail link.
14. Saves

- Saving and loading happen from the game menu (the hamburger) or from the main menu; on a PC the slot name can be typed, otherwise the date and time are used.
- The game keeps autosaves in the last slots by itself - an interrupted game can always be continued.
- EXPORT / IMPORT FILE / BY URL - exchanging games: a save file can be given to a friend, moved to another device or loaded from a link.
- A screenshot - F12 / F2 / PrtSc: the PNG is saved into the game folder and the path is shown in a plate on screen.
15. Online play
The ONLINE PLAY button → the server list → the lobby → a one-on-one colony match. Both players start with one Robosoma and a starting stock for the first buildings; construction, production and mining run in one deterministic world - both literally have the same planet. Victory means destroying every Robosoma of the opponent; the match has a time limit (the server judges by it).
The hopper and first-person mode are temporarily unavailable in an online match - they will appear in the network feed later.
The MODES section covers games involving AI: watch a match between two built-in commanders, play against a neural network or set two neural networks against each other (you need your own key to an OpenAI-compatible API - it is entered on the mode screen).
16. Useful tips
- Land near a regolith deposit, with headquarters beside it but not on the patch.
- The order of the first buildings: headquarters → reactor → extractor → workshop, then the warehouse and the factory from mined material.
- Watch the power: a minus on the counter means everything stops. You cannot have too many reactors.
- “WAREHOUSE FULL” means build a warehouse; “WAITING FOR REGOLITH” at the workshop means too few gatherers or an exhausted deposit.
- Order Robosomas at the factory in advance: assembly is not instant.
- A second colony is not a luxury: one deposit will run out. More colonies mean more regolith, more metal and more room for error.
- Look for ice early - without water there is no fuel, and without fuel the hopper does not fly.
- Do not shoot until you are ready: the first shot turns the war on for good.
- Slow in a big battle? Lower SCENE RESOLUTION in the SCREEN settings.
- Something unclear about a machine? Turn on Robosoma remarks: the caption explains the reason.